
Development
Development
This document is for developers who want to extend FastBee-Arduino functionality, covering development environment setup, coding standards, testing workflow, extension development and contribution guidelines.
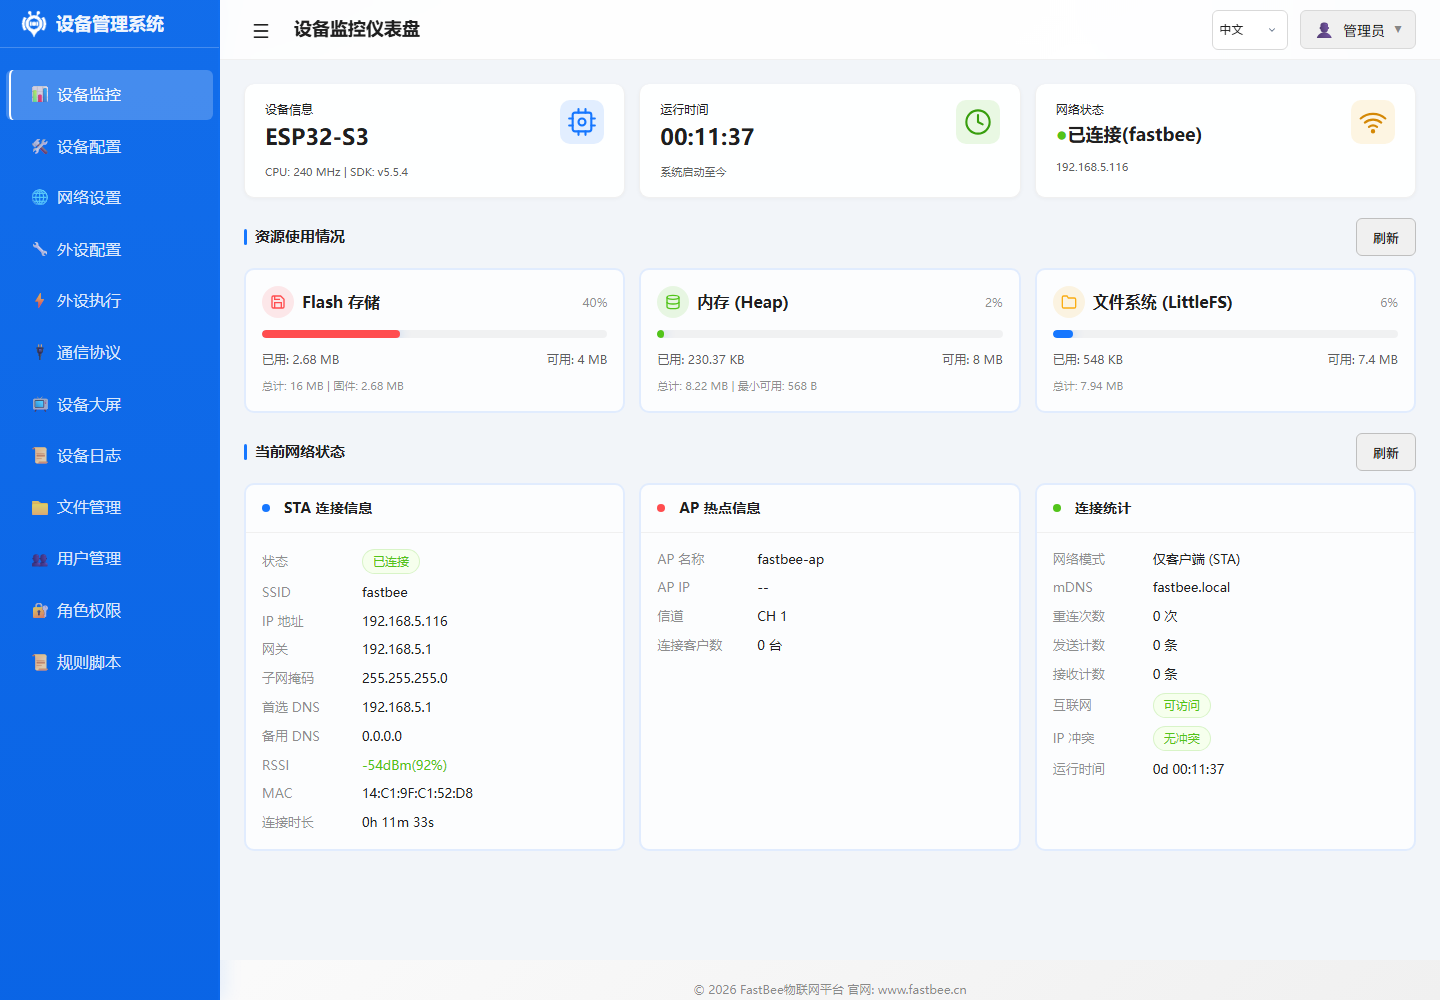
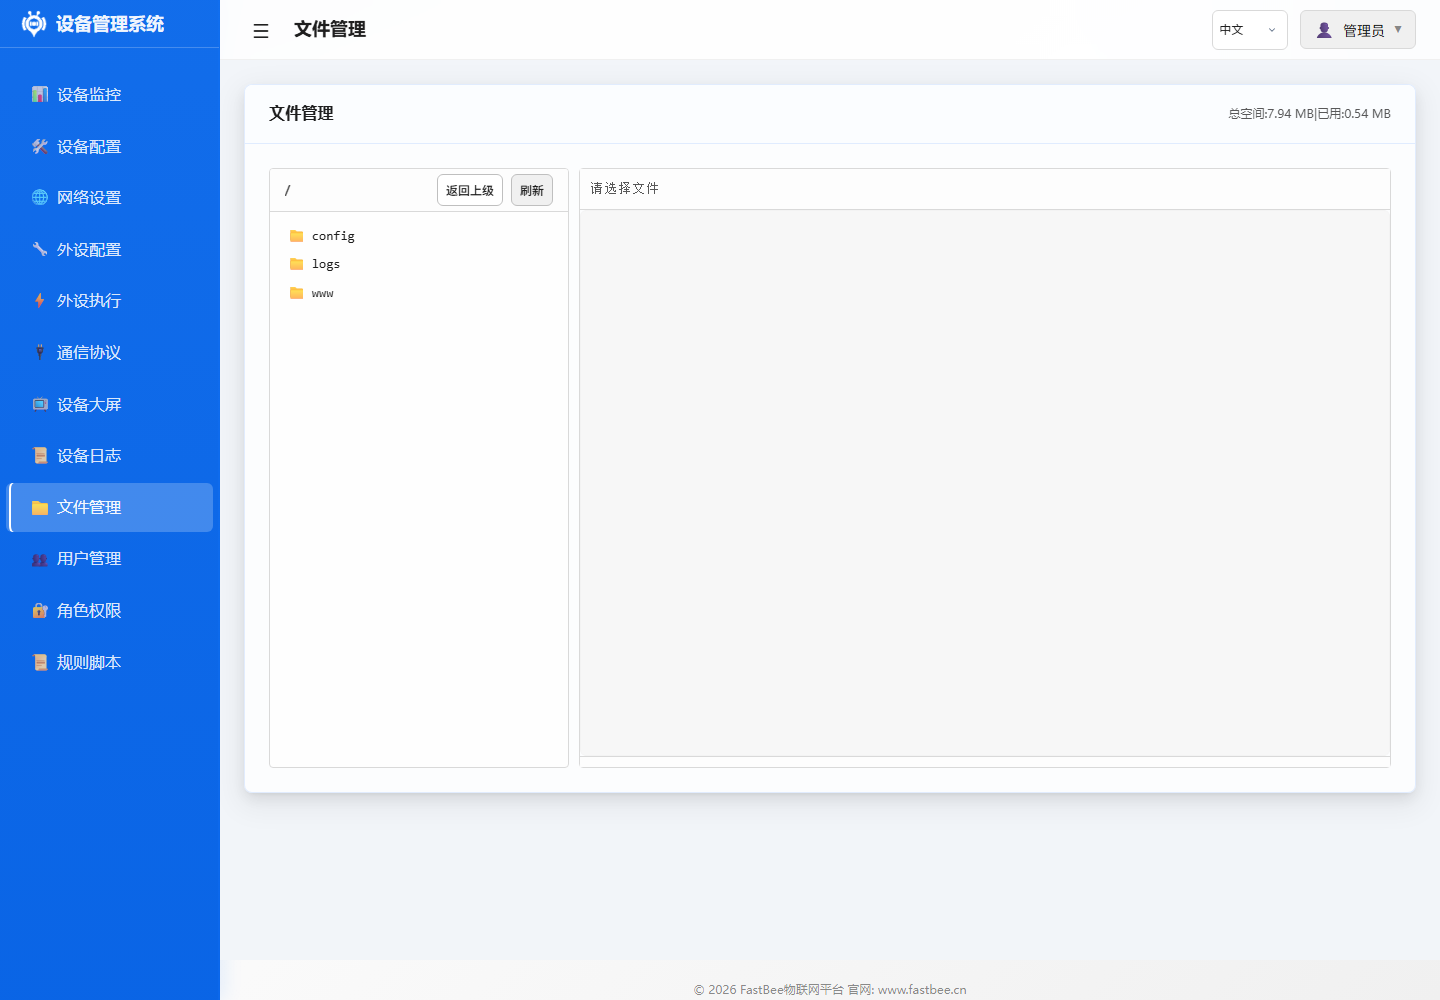
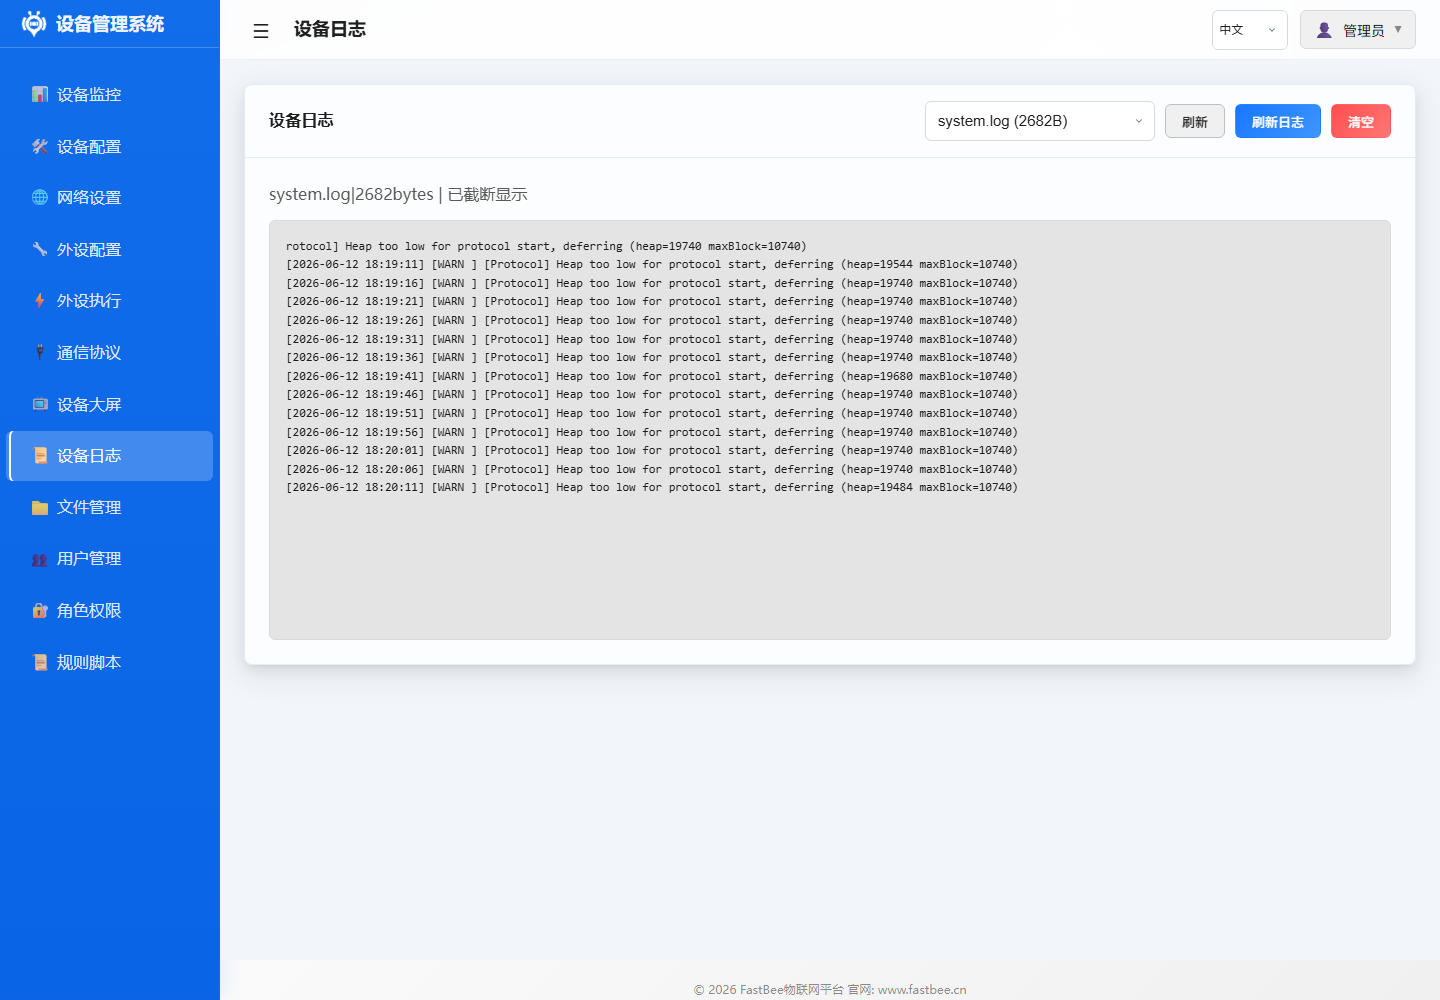
When developing and debugging, first confirm firmware online status and resource margins via the dashboard, then use file, log, peripheral and peripheral execution pages to verify configuration and behavior. The following real device screenshots are the most commonly used verification entry points after extension development.
| Name | Status | Trigger | Target Peripheral | Action | Stats | Actions |
|---|---|---|---|---|---|---|
| ADC Voltage Read & Report | Disabled | Timer Trigger | ADC Analog Conversion | Sensor Data Read -> ADC Analog Conversion | Trigger Count: 1 | Run Once / Edit / Enable / Delete |
| ADC Voltage Below 2.30V Close Relay | Disabled | Event Trigger | - | Set Low Level | Trigger Count: 1 | Run Once / Edit / Enable / Delete |
| ADC Voltage Above 2.50V Open Relay | Disabled | Event Trigger | - | Set High Level | Trigger Count: 1 | Run Once / Edit / Enable / Delete |
| ADC Voltage Display on Digital Tube | Disabled | Timer Trigger | - | Display Number | Trigger Count: 1 | Run Once / Edit / Enable / Delete |
| NTP Time Sync | Disabled | Platform Trigger (MQTT) | - | NTP Sync | Trigger Count: 1 | Run Once / Edit / Enable / Delete |
| OLED Temp & Humidity Display | Disabled | Timer Trigger | - | OLED Custom Display | Trigger Count: 1 | Run Once / Edit / Enable / Delete |
| OLED Custom Display - Button Trigger Device Info | Disabled | Event Trigger | - | OLED Custom Display | Trigger Count: 1 | Run Once / Edit / Enable / Delete |
| OLED Custom Display - Timer Mixed | Disabled | Timer Trigger | - | OLED Custom Display | Trigger Count: 1 | Run Once / Edit / Enable / Delete |
| OLED Custom Display - MQTT Message | Disabled | Platform Trigger (MQTT) | - | OLED Custom Display | Trigger Count: 1 | Run Once / Edit / Enable / Delete |
| OTA Upgrade | Disabled | Platform Trigger (MQTT) | - | OTA Upgrade | Trigger Count: 1 | Run Once / Edit / Enable / Delete |
After extension development, check whether source code, configuration, Web assets, build environment and device verification records are in sync according to the artifact map, to avoid only updating firmware while missing LittleFS or release notes.
Developers should first study architecture and core framework before diving into specific peripheral, protocol or peripheral execution modules; after changes, return to testing and release path for verification closure.
Development Environment Setup
Required Tools
| Tool | Version | Purpose |
|---|---|---|
| VSCode | Latest | Recommended IDE |
| PlatformIO IDE | Latest | Embedded development plugin |
| ESP32 DevKit | ESP32/C3/S3 | Hardware debugging |
| USB Data Cable | Data transfer capable | Flashing and serial debugging |
Optional Tools
| Tool | Purpose |
|---|---|
| PlatformIO Core (CLI) | Command-line builds |
| Node.js 16+ | Web asset building |
| Git | Version control |
| Serial Debug Tool | PuTTY/MobaXterm |
| MQTT Client | MQTT Explorer/MQTTX |
Clone Project
git clone https://gitee.com/beecue/fastbee-arduino.git
cd FastBee-Arduino
VSCode Configuration
- Install PlatformIO IDE plugin
- Open project folder
- PlatformIO auto-downloads dependencies (first time takes a few minutes)
- Confirm
.vscode/c_cpp_properties.jsonis generated
Project Structure
For directory details, see Project Directory & Files. Brief structure:
FastBee-Arduino/
├── src/          # C++ source (core/network/peripherals/protocols/security/systems/utils)
├── include/      # Header files (mirrors src structure)
├── web-src/      # Web frontend source
├── data/         # Default config and post-build Web assets
├── scripts/      # Build, deploy and test scripts
├── test/         # Native unit tests
├── docs/         # Project documentation
└── platformio.ini # PlatformIO build configuration
Coding Standards
C++ Code Standards
Naming Conventions:
| Type | Convention | Example |
|---|---|---|
| Class name | PascalCase | PeripheralManager |
| Method name | camelCase | initHardware() |
| Member variable | m_ + camelCase | m_peripherals |
| Constant | UPPER_SNAKE_CASE | MAX_PERIPHERALS |
| Enum value | UPPER_SNAKE_CASE | ACTION_HIGH |
| Local variable | camelCase | sensorValue |
| Namespace | lowercase | fastbee::core |
Code Format:
- Follow
.clang-formatconfiguration - Indentation: 4 spaces
- Braces: K&R style (opening brace on same line)
- Line width: 120 characters
Example:
class PeripheralManager {
public:
    bool addPeripheral(const PeripheralConfig& config);
    void initHardware();

private:
    std::map<std::string, Peripheral*> m_peripherals;
    bool m_initialized = false;
    static const int MAX_PERIPHERALS = 32;
};
Comment Standards:
- File header: Brief description of file purpose
- Class/method: Doxygen style
- Complex logic: Inline comments explaining why
- Public API: Complete parameter/return value descriptions
/**
 * @brief Initialize peripheral hardware
 *
 * Allocate pins based on configuration, initialize drivers and register to peripheral list.
 *
 * @param config Peripheral configuration
 * @return true Initialization successful
 * @return false Initialization failed (pin conflict/driver anomaly)
 */
bool initHardware(const PeripheralConfig& config);
Frontend Code Standards
Naming Conventions:
- Variables/functions: camelCase
- Constants: UPPER_SNAKE_CASE
- Class names: PascalCase (if applicable)
Code Format:
- Follow
.eslintrc.jsonconfiguration - Indentation: 4 spaces
- Strings: Single quotes
- Semicolons: Required
- Line width: 120 characters
Example:
function loadPeripherals() {
    const apiUrl = '/api/peripherals';
    fetch(apiUrl)
        .then(response => response.json())
        .then(data => {
            renderPeripherals(data);
        })
        .catch(error => {
            console.error('Failed to load peripherals:', error);
        });
}
Build Workflow
For detailed build, flash and deploy commands, see Edition Comparison & Deployment Verification.
# Build firmware (select corresponding environment)
pio run -e esp32-F4R0
pio run -e esp32c3-F4R0
pio run -e esp32s3-F16R8

# One-step build and flash
powershell -ExecutionPolicy Bypass -File scripts\deploy.ps1 -Env esp32-F4R0 -Port COM6

# Build Web assets only
node scripts/gzip-www.js --env esp32-F4R0
Testing Workflow
For detailed test layering, matrix and cases, see Testing & Edition Verification Guide.
# Quick pre-commit check
powershell -ExecutionPolicy Bypass -Command ".\scripts\test-all.ps1 -Checks static,build"

# Full local matrix
powershell -ExecutionPolicy Bypass -Command ".\scripts\test-all.ps1 -Checks static,native,build,artifacts"

# Run single native test
pio test -e native -f test_web_api
Extension Development
Adding a New Peripheral
Step 1: Define Peripheral Type
Add type enum in include/core/PeripheralTypes.h:
enum PeripheralType {
    // ... existing types
    YOUR_SENSOR_TYPE = 50,  // Choose unused value
};
Step 2: Implement Driver Class
Create driver file in src/peripherals/:
YourSensorDriver.h:
#pragma once
#include "PeripheralTypes.h"

class YourSensorDriver {
public:
    bool begin(int pin, const std::map<std::string, String>& params);
    float readValue();
    void end();

private:
    int m_pin;
    bool m_initialized = false;
};YourSensorDriver.cpp:
#include "YourSensorDriver.h"
#include <Arduino.h>

bool YourSensorDriver::begin(int pin, const std::map<std::string, String>& params) {
    m_pin = pin;
    pinMode(m_pin, INPUT);
    m_initialized = true;
    return true;
}

float YourSensorDriver::readValue() {
    if (!m_initialized) return -1;
    return analogRead(m_pin);
}

void YourSensorDriver::end() {
    m_initialized = false;
}
Step 3: Register to PeripheralManager
Add initialization logic in PeripheralManager::initHardware():
case YOUR_SENSOR_TYPE: {
    auto* driver = new YourSensorDriver();
    if (!driver->begin(pins[0], config.params)) {
        delete driver;
        return false;
    }
    peripheral->setDriver(driver);
    break;
}
Step 4: Add Sensor Read Support
Add parsing logic in PeriphExecExecutor::executeSensorRead():
if (sensorCategory == "your_sensor") {
    auto* driver = static_cast<YourSensorDriver*>(peripheral->getDriver());
    float value = driver->readValue();
    cache[key] = String(value);
    return true;
}
Step 5: Write Documentation
- Create config doc in
docs/peripherals/:your-sensor.md - Create usage example in
docs/examples/:49-your-sensor.md - Update
docs/peripherals/sensor-guide-complete.md
Step 6: Test & Verify
- Connect hardware, flash firmware
- Add peripheral via Web interface
- Verify sensor readings are normal
- Create rules to test linked actions
Adding a New Protocol
Step 1: Implement Protocol Handler
Inherit ProtocolHandler interface:
class YourProtocolHandler : public ProtocolHandler {
public:
    bool connect(const ProtocolConfig& config) override;
    bool disconnect() override;
    bool publish(const String& topic, const String& payload) override;
    bool subscribe(const String& topic) override;
    bool isConnected() override;

private:
    bool m_connected = false;
};
Step 2: Register to ProtocolManager
Add in ProtocolManager::initProtocol():
if (config.protocolType == "your_protocol") {
    auto* handler = new YourProtocolHandler();
    handler->connect(config);
    m_protocols[config.id] = handler;
}
Step 3: Add API Routes
Create route handler in network/handlers/:
YourProtocolRouteHandler.cpp:
void handleGetConfig(AsyncWebServerRequest* request) {
    // Return protocol configuration
}

void handlePostConfig(AsyncWebServerRequest* request) {
    // Save protocol configuration
}
Register in WebConfigManager::setupRoutes():
server.on("/api/your-protocol", HTTP_GET, handleGetConfig);
server.on("/api/your-protocol", HTTP_POST, handlePostConfig);
Step 4: Frontend Pages
- Add config page in
web-src/pages/:your-protocol.html - Add API call logic in
web-src/js/ - Update
web-src/modules/module routing
Step 5: Write Documentation
- Create protocol doc in
docs/protocols/ - Update
docs/protocols/README.md
Contribution Guidelines
PR Submission Workflow
Fork Project
- Fork the repository on Gitee/GitHub
Create Feature Branch
git checkout -b feature/your-feature-nameCommit Changes
git add .
git commit -m "feat: add your feature description"
Push to Branch
git push origin feature/your-feature-nameOpen Pull Request
- Create PR in the repository
- Describe feature, test status and related issues in detail
Commit Standards
Follow Conventional Commits:
| Type | Description | Example |
|---|---|---|
feat | New feature | feat: add BMP280 sensor driver |
fix | Bug fix | fix: resolve MQTT reconnect issue |
docs | Documentation update | docs: add architecture diagram |
style | Code formatting | style: fix indentation |
refactor | Refactoring | refactor: simplify peripheral init |
test | Test related | test: add peripheral unit tests |
chore | Build/tooling | chore: update platformio.ini |
Code Review Checklist
Functionality Completeness:
- Features implemented as required
- Edge cases handled
- Error handling is comprehensive
Memory Safety:
- No memory leaks (new/delete paired)
- No buffer overflows
- Null checks before pointer use
Build Quality:
- No compiler warnings
- Passes all unit tests
- Follows coding standards
Documentation Sync:
- Related documentation updated
- Code comments added
- CHANGELOG updated (if applicable)
Performance Considerations:
- Avoid frequent memory allocation
- Use reference passing for large objects
- Async processing for time-consuming operations
Debugging Tips
Serial Logging
Output Logs:
Serial.printf("[YOUR_MODULE] Message: %s\n", value.c_str());
Serial.printf("[YOUR_MODULE] Value: %d, Float: %.2f\n", intVal, floatVal);
Log Levels:
ESP_LOGE("TAG", "Error message");   // Error
ESP_LOGW("TAG", "Warning message"); // Warning
ESP_LOGI("TAG", "Info message");    // Info
ESP_LOGD("TAG", "Debug message");   // Debug
Memory Diagnostics
View Memory Status:
Serial.printf("Free heap: %lu bytes\n", ESP.getFreeHeap());
Serial.printf("Max alloc: %lu bytes\n", ESP.getMaxAllocHeap());
Serial.printf("Min free heap: %lu bytes\n", ESP.getMinFreeHeap());
PSRAM Status:
#ifdef BOARD_HAS_PSRAM
    Serial.printf("PSRAM size: %lu bytes\n", ESP.getPsramSize());
    Serial.printf("Free PSRAM: %lu bytes\n", ESP.getFreePsram());
#endif
Web API Debugging
Browser Developer Tools:
- Open Network panel
- View API request/response
- Check JSON format
- View response status codes
curl Testing:
# Get peripheral list
curl http://192.168.4.1/api/peripherals

# Add a peripheral
curl -X POST http://192.168.4.1/api/peripherals \
  -H "Content-Type: application/json" \
  -d '{"id":"test_01","name":"Test","type":12,"enabled":false,"pinCount":1,"pins":[26,255,255,255,255,255,255,255],"params":{}}'
Common Issue Troubleshooting
| Issue | Troubleshooting Steps |
|---|---|
| Web not accessible | Check WiFi connection, IP address, firewall |
| Peripheral not responding | Check pin config, enable status, wiring |
| MQTT disconnected | Check server address, port, credentials |
| Insufficient memory | Use Lite edition, disable unnecessary features |
| Build failed | Clean build, check dependencies, update PlatformIO |
| Upload failed | Check USB connection, driver, serial port usage |
Performance Profiling
CPU Usage:
uint32_t start = micros();
your_function();
uint32_t elapsed = micros() - start;
Serial.printf("Execution time: %lu us\n", elapsed);
Stack Usage:
#include <esp_task.h>
Serial.printf("Stack high water: %lu bytes\n", uxTaskGetStackHighWaterMark(NULL));
Related Documentation
- Architecture Design - System architecture and module relationships
- Core Framework - Main components and key classes
- Code Change Guidelines - Pre-change impact analysis, regression testing and high-risk change checklist
- Build Configuration - PlatformIO environments, feature flags and common commands
- Resource Usage & Feature Trimming - RAM/Flash budget and on-demand compilation strategy
- Testing & Edition Verification - Automated test matrix and device smoke/soak workflow
- Peripheral Execution Flow - Complete rule engine business logic
- Quick Start - Complete first configuration in 5 steps
- Source Repository - Gitee source code