
Development Guide
Development Guide
Synchronized Device Documentation
This page corresponds to the synchronized Chinese source. Commands, JSON examples, API paths, field names, and screenshots are kept aligned with the Chinese device-side source documentation.
What This Page Covers
- Development Guide context and expected reader workflow.
- Configuration, verification, and release-readiness details.
- Source-aligned implementation notes, screenshots, and troubleshooting references.
Source Reference
The detailed operational source is preserved below so implementation details stay exact while the English navigation, titles, and reading path remain available.
开发指南
本文档面向希望扩展 FastBee-Arduino 功能的开发者,涵盖开发环境搭建、编码规范、测试流程、扩展开发和贡献指南。
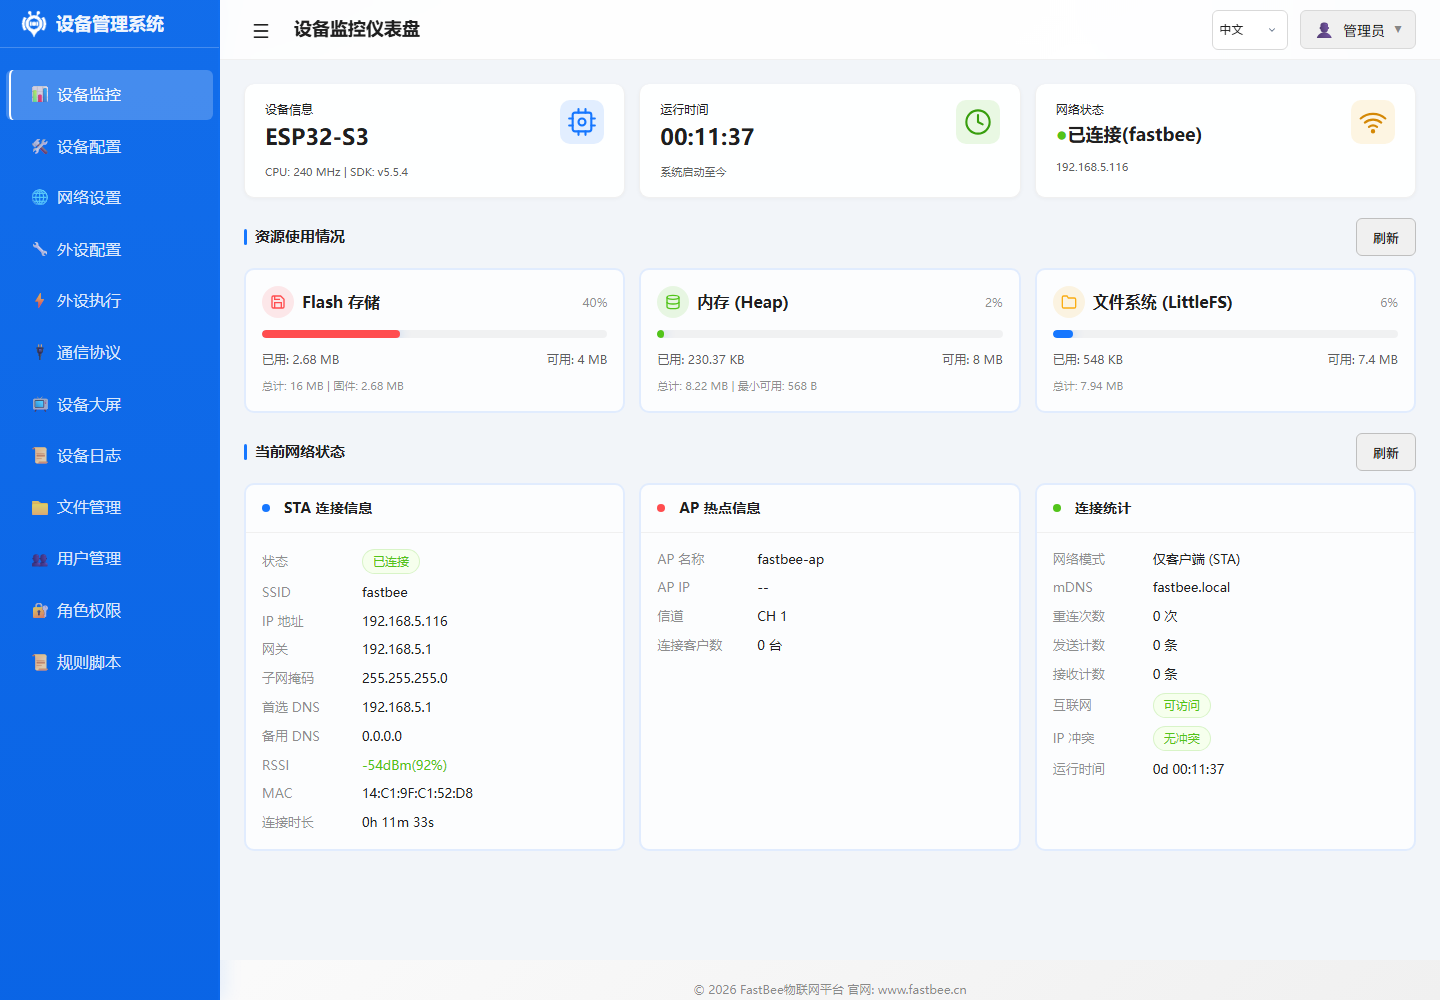
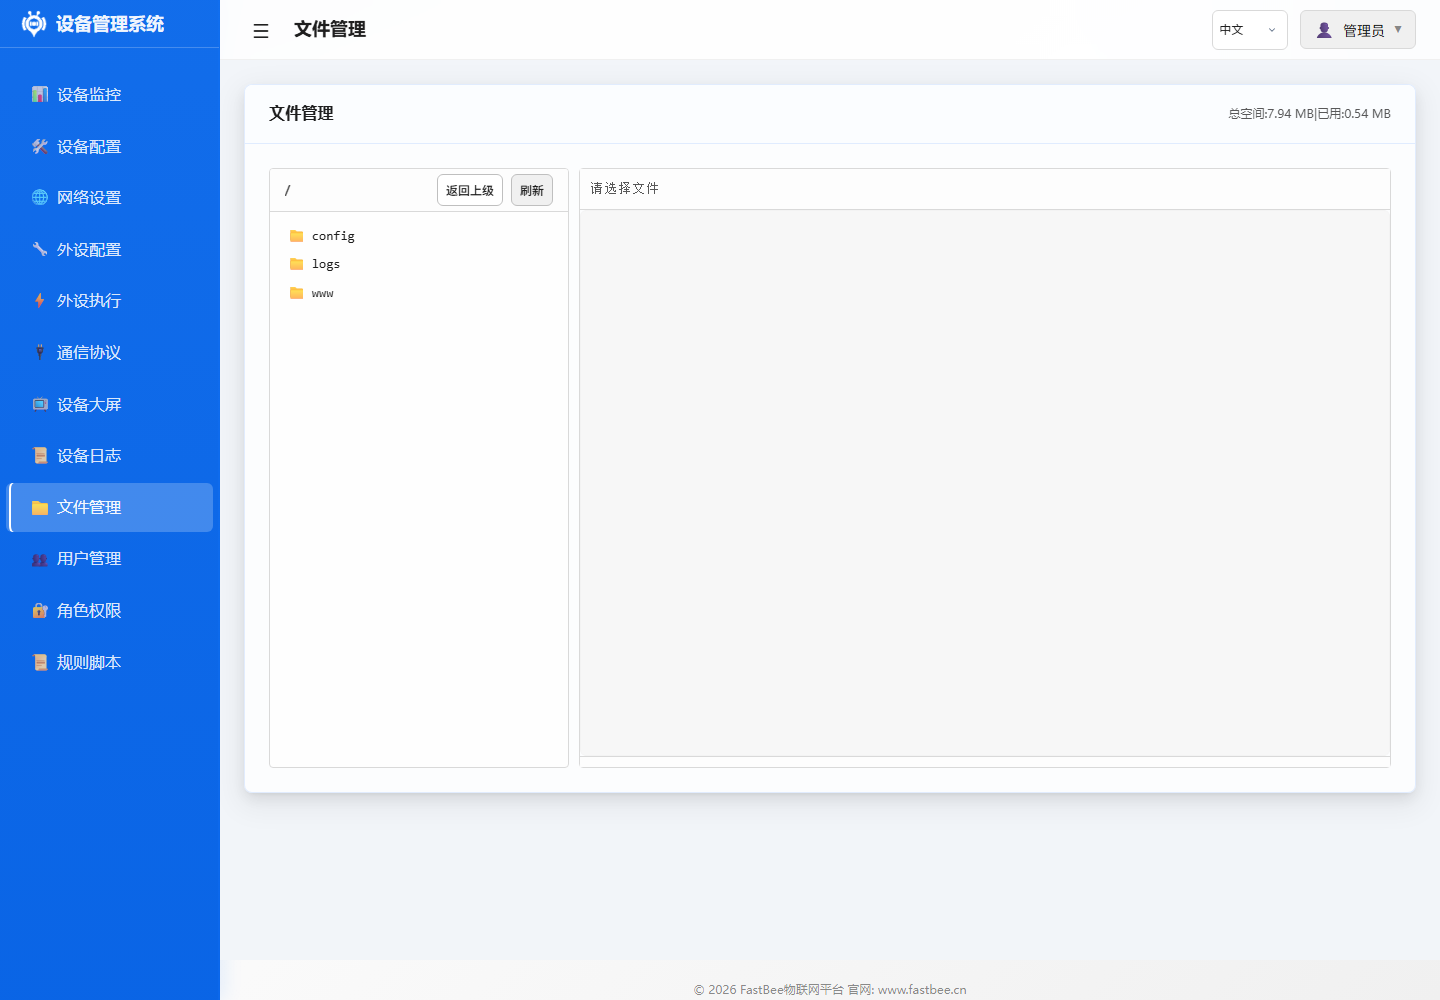
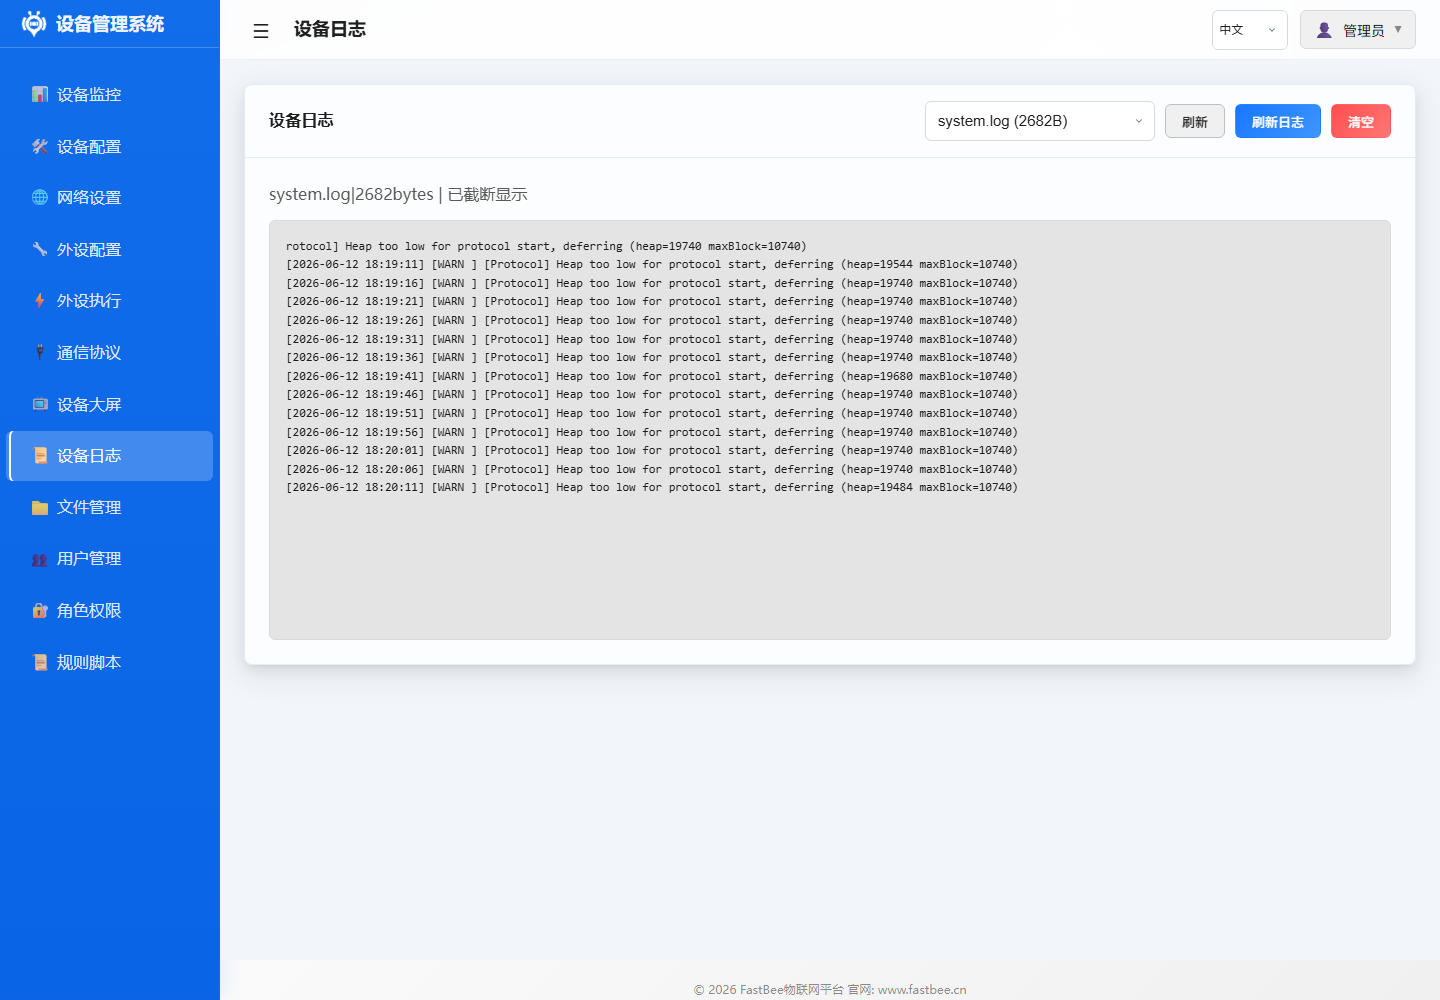
开发调试时,先通过仪表盘确认固件在线和资源余量,再用文件、日志、外设和外设执行页面核对配置和行为。下面几张实机截图是扩展开发后最常用的验证入口。


扩展开发完成后,按产物地图检查源码、配置、Web 资源、构建环境和设备验证记录是否同步,避免只更新固件而遗漏 LittleFS 或发布说明。

开发者建议先看架构和核心框架,再进入具体外设、协议或外设执行模块;改动完成后回到测试和发布路径做验证闭环。
开发环境搭建
必需工具
| 工具 | 版本 | 用途 |
|---|---|---|
| VSCode | 最新版 | 推荐 IDE |
| PlatformIO IDE | 最新版 | 嵌入式开发插件 |
| ESP32 开发板 | ESP32/C3/S3 | 硬件调试 |
| USB 数据线 | 支持数据传输 | 烧录和串口调试 |
可选工具
| 工具 | 用途 |
|---|---|
| PlatformIO Core (CLI) | 命令行构建 |
| Node.js 16+ | Web 资源构建 |
| Git | 版本控制 |
| 串口调试工具 | PuTTY/MobaXterm |
| MQTT 客户端 | MQTT Explorer/MQTTX |
克隆项目
git clone https://gitee.com/beecue/fastbee-arduino.git
cd FastBee-Arduino
VSCode 配置
- 安装 PlatformIO IDE 插件
- 打开项目文件夹
- PlatformIO 自动下载依赖 (首次需几分钟)
- 确认
.vscode/c_cpp_properties.json已生成
项目结构
FastBee-Arduino/
├── src/                    # C++ 源码
│   ├── core/               # 核心框架
│   │   ├── FastBeeFramework.cpp    # 主框架
│   │   ├── PeripheralManager.cpp   # 外设管理
│   │   ├── PeriphExecManager.cpp   # 规则引擎
│   │   ├── PeriphExecExecutor.cpp  # 动作执行
│   │   └── CommandBus.cpp          # 命令总线
│   ├── network/            # 网络服务
│   │   ├── WebConfigManager.cpp    # HTTP 服务器
│   │   ├── WiFiManager.cpp         # WiFi 管理
│   │   ├── NetworkManager.cpp      # 网络适配
│   │   └── handlers/               # API 路由处理器
│   ├── peripherals/        # 外设驱动
│   │   ├── SensorDriver.cpp        # 传感器驱动
│   │   ├── LCDManager.cpp          # 显示屏驱动
│   │   └── drivers/                # 专用驱动库
│   ├── protocols/          # 协议处理
│   │   ├── MQTTClient.cpp          # MQTT 客户端
│   │   ├── ModbusHandler.cpp       # Modbus RTU
│   │   └── ProtocolManager.cpp     # 协议管理
│   ├── security/           # 安全认证
│   │   ├── AuthManager.cpp         # 认证管理
│   │   └── UserManager.cpp         # 用户管理
│   ├── systems/            # 系统管理
│   │   ├── ConfigStorage.cpp       # 配置存储
│   │   ├── HealthMonitor.cpp       # 健康监控
│   │   └── LoggerSystem.cpp        # 日志系统
│   ├── utils/              # 工具函数
│   └── main.cpp            # 入口文件
├── include/                # 头文件 (与 src 结构对应)
├── web-src/                # Web 前端源码
│   ├── css/                # 样式源码
│   ├── js/                 # JavaScript 源码
│   ├── modules/            # 页面运行时模块
│   └── pages/              # 页面和页面片段
├── data/                   # 默认配置和 Web 产物
│   ├── config/             # JSON 配置模板
│   └── www/                # 压缩后的 Web 文件
├── scripts/                # 构建脚本
│   ├── gzip-www.js         # Web 资源压缩
│   ├── build-web-modules.js # 前端模块打包
│   └── ...
├── test/                   # 单元测试
├── docs/                   # 项目文档
└── platformio.ini          # 构建配置
编码规范
C++ 代码规范
命名约定:
| 类型 | 规范 | 示例 |
|---|---|---|
| 类名 | PascalCase | PeripheralManager |
| 方法名 | camelCase | initHardware() |
| 成员变量 | m_ + camelCase | m_peripherals |
| 常量 | UPPER_SNAKE_CASE | MAX_PERIPHERALS |
| 枚举值 | UPPER_SNAKE_CASE | ACTION_HIGH |
| 局部变量 | camelCase | sensorValue |
| 命名空间 | 小写 | fastbee::core |
代码格式:
- 遵循
.clang-format配置 - 缩进: 4 空格
- 大括号: K&R 风格 (开括号不换行)
- 行宽: 120 字符
示例:
class PeripheralManager {
public:
    bool addPeripheral(const PeripheralConfig& config);
    void initHardware();

private:
    std::map<std::string, Peripheral*> m_peripherals;
    bool m_initialized = false;
    static const int MAX_PERIPHERALS = 32;
};注释规范:
- 文件头: 简要说明文件职责
- 类/方法: Doxygen 风格
- 复杂逻辑: 行内注释说明原因
- 公开 API: 完整参数/返回值说明
/**
 * @brief 初始化外设硬件
 *
 * 根据配置分配引脚、初始化驱动,并注册到外设列表。
 *
 * @param config 外设配置
 * @return true 初始化成功
 * @return false 初始化失败 (引脚冲突/驱动异常)
 */
bool initHardware(const PeripheralConfig& config);
前端代码规范
命名约定:
- 变量/函数: camelCase
- 常量: UPPER_SNAKE_CASE
- 类名: PascalCase (如有)
代码格式:
- 遵循
.eslintrc.json配置 - 缩进: 4 空格
- 字符串: 单引号
- 分号: 必须
- 行宽: 120 字符
示例:
function loadPeripherals() {
    const apiUrl = '/api/peripherals';
    fetch(apiUrl)
        .then(response => response.json())
        .then(data => {
            renderPeripherals(data);
        })
        .catch(error => {
            console.error('加载外设失败:', error);
        });
}
构建流程
编译固件
精简版 (推荐):
## ESP32 标准版 (4MB Flash)
pio run -e esp32-F4R0

## ESP32-C3 轻量版 (4MB Flash)
pio run -e esp32c3-F4R0

## ESP32-S3 标准版 (8MB Flash)
pio run -e esp32s3-F8R0

## ESP32-S3 全功能版 (16MB Flash + 8MB PSRAM)
pio run -e esp32s3-F16R8完整版:
## ESP32-S3 全功能版 (16MB Flash + 8MB PSRAM)
pio run -e esp32s3-F16R8清理构建:
pio run -t clean构建 Web 资源
推荐:构建并烧录匹配版本:
powershell -ExecutionPolicy Bypass -File scripts\deploy.ps1 -Env esp32-F4R0 -Port COM6只编译不上传:
powershell -ExecutionPolicy Bypass -File scripts\deploy.ps1 -Env esp32s3-F16R8 -BuildOnly底层文件系统构建命令:
pio run -e esp32s3-F16R8 --target buildfs烧录到设备
上传文件系统和固件:
powershell -ExecutionPolicy Bypass -File scripts\deploy.ps1 -Env esp32-F4R0 -Port COM6仅上传固件:
powershell -ExecutionPolicy Bypass -File scripts\deploy.ps1 -Env esp32-F4R0 -Port COM6 -SkipFs仅上传文件系统:
powershell -ExecutionPolicy Bypass -File scripts\deploy.ps1 -Env esp32-F4R0 -Port COM6 -SkipFirmware打开串口监视器:
pio device monitor -e esp32-F4R0 -b 115200一键编译上传监视:
powershell -ExecutionPolicy Bypass -File scripts\deploy.ps1 -Env esp32-F4R0 -Port COM6 -Monitor测试流程
单元测试
运行所有测试:
pio test -e native运行特定测试:
pio test -e native -f test_web_api
pio test -e native -f test_mqtt_protocol
测试覆盖范围
| 测试文件 | 覆盖内容 |
|---|---|
test_main.cpp | 测试主入口与 Unity 框架 |
test_web_api.cpp | Web API 路由、请求响应 |
test_network_config.cpp | 网络配置解析与切换 |
test_wifi_ip_dns.cpp | WiFi / IP / DNS 管理 |
test_mqtt_protocol.cpp | MQTT 协议配置与认证 |
test_system_stability.cpp | 系统稳定性、资源保护与边界条件 |
test_e2e_scenarios.cpp | 端到端场景组合测试 |
test_command_bus.cpp | CommandBus 命令总线 |
test_error_handler.cpp | 错误处理与错误码 |
test_ota_manager.cpp | OTA 状态与校验逻辑 |
test_batch_sse.cpp | 批量请求与 SSE 实时推送 |
test_periph_exec.cpp | 外设执行引擎调度与动作 |
test_protocol_handlers.cpp | TCP / HTTP / CoAP / Modbus 协议处理器 |
test_rule_script.cpp | 规则脚本引擎解析与执行 |
test_security_auth.cpp | 认证、用户、角色与权限边界 |
test_system_services.cpp | 日志、配置存储、健康监控 |
test_pagination_fixes.cpp | 分页与边界修复 |
test_performance_bench.cpp | 性能基准与耗时测量 |
添加测试用例
创建测试文件: test/test_your_feature.cpp
#include <unity.h>
#include "your_header.h"

void test_your_function() {
    // 准备测试数据
    int input = 42;

    // 调用被测函数
    int result = your_function(input);

    // 验证结果
    TEST_ASSERT_EQUAL(84, result);
}

void test_another_case() {
    TEST_ASSERT_TRUE(another_function());
    TEST_ASSERT_FALSE(error_case());
}

void setup() {
    // 等待串口连接 (可选)
    delay(2000);

    UNITY_BEGIN();

    // 注册测试用例
    RUN_TEST(test_your_function);
    RUN_TEST(test_another_case);

    UNITY_END();
}

void loop() {
    // 空循环
}运行新测试:
pio test -e native -f test_your_feature扩展开发
添加新外设
步骤 1: 定义外设类型
在 include/core/PeripheralTypes.h 添加类型枚举:
enum PeripheralType {
    // ... 现有类型
    YOUR_SENSOR_TYPE = 50,  // 选择未使用的值
};
步骤 2: 实现驱动类
在 src/peripherals/ 创建驱动文件:
YourSensorDriver.h:
#pragma once
#include "PeripheralTypes.h"

class YourSensorDriver {
public:
    bool begin(int pin, const std::map<std::string, String>& params);
    float readValue();
    void end();

private:
    int m_pin;
    bool m_initialized = false;
};YourSensorDriver.cpp:
#include "YourSensorDriver.h"
#include <Arduino.h>

bool YourSensorDriver::begin(int pin, const std::map<std::string, String>& params) {
    m_pin = pin;
    pinMode(m_pin, INPUT);
    m_initialized = true;
    return true;
}

float YourSensorDriver::readValue() {
    if (!m_initialized) return -1;
    return analogRead(m_pin);
}

void YourSensorDriver::end() {
    m_initialized = false;
}
步骤 3: 注册到 PeripheralManager
在 PeripheralManager::initHardware() 添加初始化逻辑:
case YOUR_SENSOR_TYPE: {
    auto* driver = new YourSensorDriver();
    if (!driver->begin(pins[0], config.params)) {
        delete driver;
        return false;
    }
    peripheral->setDriver(driver);
    break;
}
步骤 4: 添加传感器读取支持
在 PeriphExecExecutor::executeSensorRead() 添加解析逻辑:
if (sensorCategory == "your_sensor") {
    auto* driver = static_cast<YourSensorDriver*>(peripheral->getDriver());
    float value = driver->readValue();
    cache[key] = String(value);
    return true;
}
步骤 5: 编写文档
- 在
docs/peripherals/创建配置文档:your-sensor.md - 在
docs/examples/创建使用示例:49-your-sensor.md - 更新
docs/peripherals/sensor-guide-complete.md
步骤 6: 测试验证
- 连接硬件,烧录固件
- 通过 Web 界面添加外设
- 验证传感器读数正常
- 创建规则测试联动
添加新协议
步骤 1: 实现协议处理器
继承 ProtocolHandler 接口:
class YourProtocolHandler : public ProtocolHandler {
public:
    bool connect(const ProtocolConfig& config) override;
    bool disconnect() override;
    bool publish(const String& topic, const String& payload) override;
    bool subscribe(const String& topic) override;
    bool isConnected() override;

private:
    bool m_connected = false;
};
步骤 2: 注册到 ProtocolManager
在 ProtocolManager::initProtocol() 添加:
if (config.protocolType == "your_protocol") {
    auto* handler = new YourProtocolHandler();
    handler->connect(config);
    m_protocols[config.id] = handler;
}
步骤 3: 添加 API 路由
在 network/handlers/ 创建路由处理器:
YourProtocolRouteHandler.cpp:
void handleGetConfig(AsyncWebServerRequest* request) {
    // 返回协议配置
}

void handlePostConfig(AsyncWebServerRequest* request) {
    // 保存协议配置
}
注册到 WebConfigManager::setupRoutes():
server.on("/api/your-protocol", HTTP_GET, handleGetConfig);
server.on("/api/your-protocol", HTTP_POST, handlePostConfig);
步骤 4: 前端页面
- 在
web-src/pages/添加配置页面:your-protocol.html - 在
web-src/js/添加 API 调用逻辑 - 更新
web-src/modules/模块路由
步骤 5: 编写文档
- 在
docs/protocols/创建协议文档 - 更新
docs/protocols/README.md
贡献指南
提交 PR 流程
Fork 项目
- 在 Gitee/GitHub 上 Fork 仓库
创建特性分支
git checkout -b feature/your-feature-name提交更改
git add .
git commit -m "feat: add your feature description"
推送到分支
git push origin feature/your-feature-name开启 Pull Request
- 在项目仓库创建 PR
- 详细描述功能、测试情况、相关 issue
提交规范
| 类型 | 说明 | 示例 |
|---|---|---|
feat | 新功能 | feat: add BMP280 sensor driver |
fix | 修复 bug | fix: resolve MQTT reconnect issue |
docs | 文档更新 | docs: add architecture diagram |
style | 代码格式 | style: fix indentation |
refactor | 重构 | refactor: simplify peripheral init |
test | 测试相关 | test: add peripheral unit tests |
chore | 构建/工具 | chore: update platformio.ini |
代码审查要点
功能完整性:
- 功能是否按需求实现
- 边界条件是否处理
- 错误处理是否完善
内存安全性:
- 无内存泄漏 (new/delete 配对)
- 无缓冲区溢出
- 指针使用前检查 null
编译质量:
- 无编译警告
- 通过所有单元测试
- 遵循编码规范
文档同步:
- 更新相关文档
- 添加代码注释
- 更新 CHANGELOG (如有)
性能考虑:
- 避免频繁内存分配
- 使用引用传递大对象
- 异步处理耗时操作
调试技巧
串口日志
输出日志:
Serial.printf("[YOUR_MODULE] Message: %s\n", value.c_str());
Serial.printf("[YOUR_MODULE] Value: %d, Float: %.2f\n", intVal, floatVal);日志级别:
ESP_LOGE("TAG", "Error message");  // 错误
ESP_LOGW("TAG", "Warning message"); // 警告
ESP_LOGI("TAG", "Info message");    // 信息
ESP_LOGD("TAG", "Debug message");   // 调试
内存诊断
查看内存状态:
Serial.printf("Free heap: %lu bytes\n", ESP.getFreeHeap());
Serial.printf("Max alloc: %lu bytes\n", ESP.getMaxAllocHeap());
Serial.printf("Min free heap: %lu bytes\n", ESP.getMinFreeHeap());
PSRAM 状态:
#ifdef BOARD_HAS_PSRAM
    Serial.printf("PSRAM size: %lu bytes\n", ESP.getPsramSize());
    Serial.printf("Free PSRAM: %lu bytes\n", ESP.getFreePsram());
#endif
Web API 调试
浏览器开发者工具:
- 打开 Network 面板
- 查看 API 请求/响应
- 检查 JSON 格式
- 查看响应状态码
curl 测试:
## 获取外设列表
curl http://192.168.4.1/api/peripherals

## 添加外设
curl -X POST http://192.168.4.1/api/peripherals \
  -H "Content-Type: application/json" \
  -d '{"id":"test_01","name":"Test","type":12,"enabled":false,"pinCount":1,"pins":[26,255,255,255,255,255,255,255],"params":{}}'
常见问题排查
| 问题 | 排查步骤 |
|---|---|
| Web 无法访问 | 检查 WiFi 连接、IP 地址、防火墙 |
| 外设无响应 | 检查引脚配置、启用状态、接线 |
| MQTT 断连 | 检查服务器地址、端口、认证信息 |
| 内存不足 | 使用 slim 版、关闭不必要功能 |
| 编译失败 | 清理构建、检查依赖、更新 PlatformIO |
| 上传失败 | 检查 USB 连接、驱动、串口占用 |
性能分析
CPU 使用率:
uint32_t start = micros();
your_function();
uint32_t elapsed = micros() - start;
Serial.printf("Execution time: %lu us\n", elapsed);堆栈使用:
#include <esp_task.h>
Serial.printf("Stack high water: %lu bytes\n", uxTaskGetStackHighWaterMark(NULL));